myResearchQuill

Getting started

Your first week with myResearchQuill

Seven short steps, from installing the app to keeping a copy of your work. Each takes a few minutes. On a Mac, read "click" for "tap".

1. Set up

There's no account to make. Open the app and it's ready.

  1. Tap the gear button to open Settings.
  2. In My Profile, add your name, school and course. Your school's name appears at the bottom of the app and in Find Sources.
  3. In Home, choose your Region so dates are written your way, and whether the home screen opens as a List or Cards.
  4. In Projects, choose the citation style your course uses as the Default Style. New projects start with it.

If you're signed in to iCloud, everything you add from now on appears on your other devices too. Nothing else to switch on.
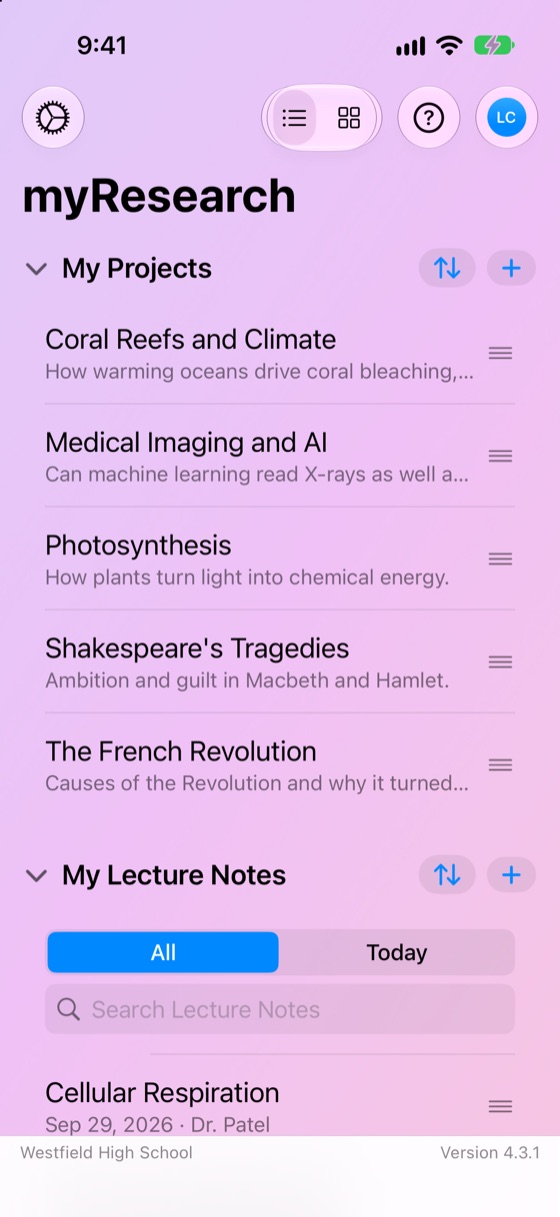
The home screen as a list: My Projects, My Lecture Notes and My Calendar

2. Make your first project

  1. On the home screen, tap + in the My Projects heading.
  2. Give the project a title and a one-line summary, such as the essay question.
  3. Check the citation style. Change it here if this piece of work needs a different one.
  4. Scroll to Image and tap Choose from Gallery to pick a picture for your subject, or use a photo of your own.
  5. Tap Save.

A project opens read-only so you can't change it by accident. Tap Edit whenever you want to add to it.

3. Add the sources you already have

  1. Open the project and tap Edit.
  2. Tap Add Source and choose what it is: a book, an article, a website or a video.
  3. Fill in what you know. The citation preview shows the reference taking shape.
  4. Add a note about what the source says and why it matters. Tap the microphone to dictate it.
  5. Tap Save in the source sheet. It's stored straight away.

Back on the project, your sources are listed as a finished reference list. Tap a source to read all its details and notes.
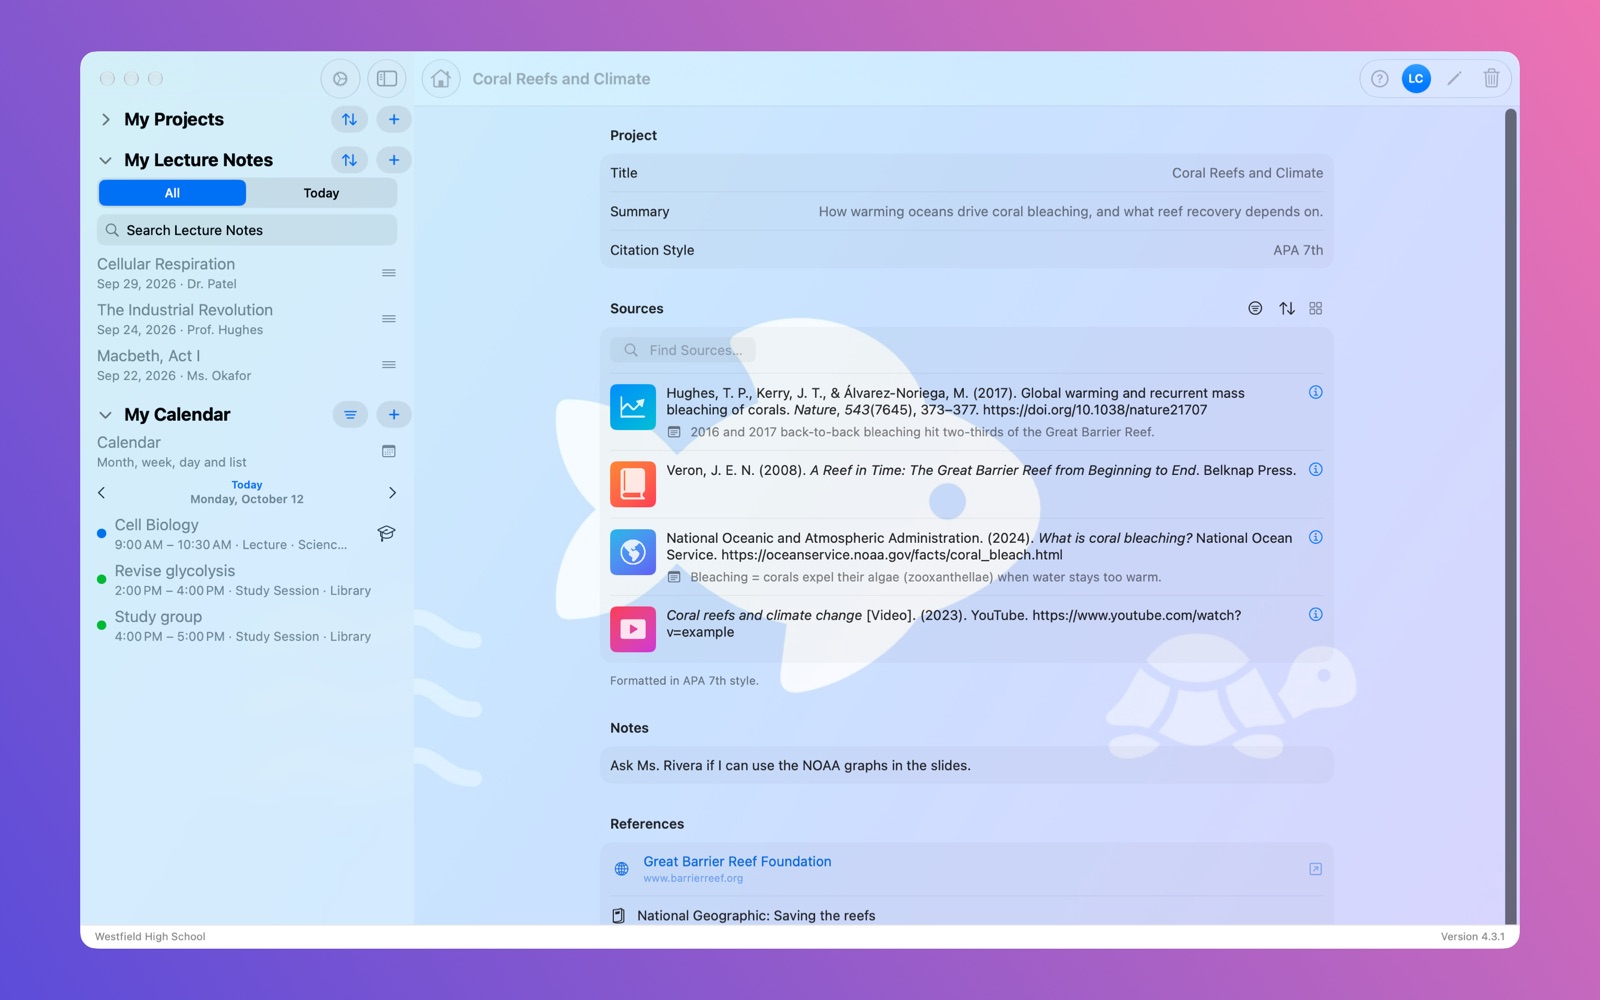
A project's sources shown as a formatted reference list

4. Find more sources

  1. With the project in Edit, tap Find Sources.
  2. Type a few keywords. Leave Search In on All Free Indexes to begin with.
  3. Keep Free to Read Only on if you want work you can open without a subscription.
  4. Tap Search. Tap a result's title to read it in your browser.
  5. For each useful result, choose Add to Project, or Add, Needs Review if you haven't read it yet. Reject the ones that aren't relevant.

To search your library's own databases, add them once in Settings › Library: paste the address of any results page from that database, and the app works out where your search words go.

Read a source yourself before you rely on it. A search result tells you a work exists, not that it says what you hope it says.

5. Bring in your timetable

If your course timetable is in a calendar on your device, the app can build your lecture notes from it.

  1. In Settings › Calendar, switch on Connect to Apple Calendar and allow access.
  2. Under Academic Timetable, choose the calendar your lectures are in.
  3. Tap Create Lecture Notes, choose the dates (this term, say) and confirm.

Each lecture now has a note waiting, with its title, time and room filled in. Tap any lecture on the calendar to open its note.

No timetable calendar? Add lectures yourself with + in My Calendar, or just make lecture notes as you go.
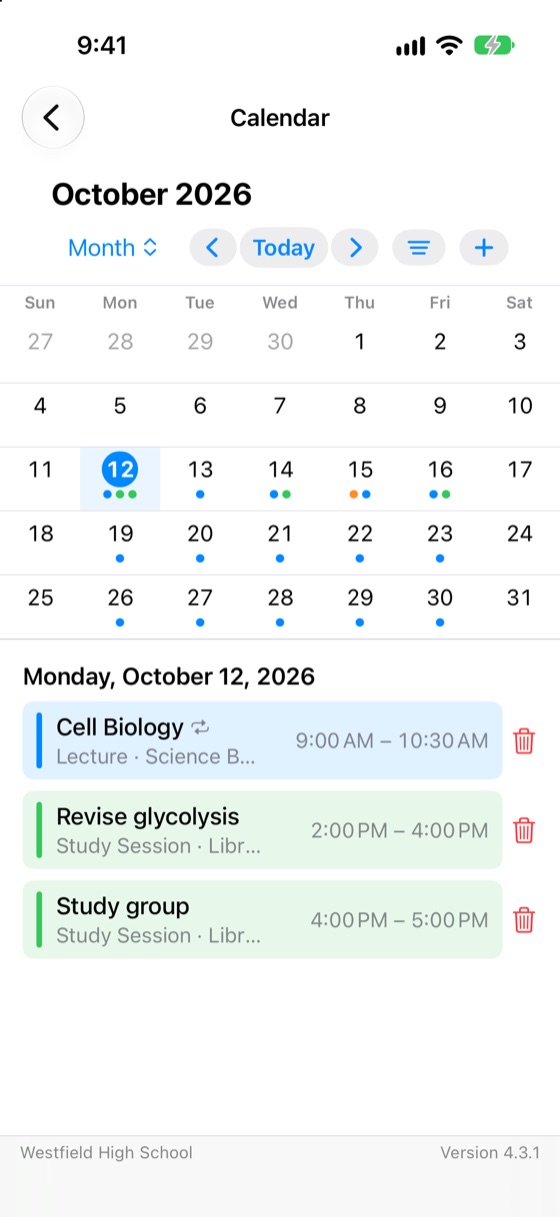
The calendar's month view on iPhone with the day's lectures underneath

6. Record a lecture

  1. Check with your lecturer that recording is allowed.
  2. Open the lecture's note. The Recordings section tells you how many hours will fit on your device.
  3. Tap the microphone in the toolbar. Allow the microphone and speech recognition the first time.
  4. Put the phone down. You can lock it or use another app; the recording carries on.
  5. Tap Stop Recording at the end. The recording and its transcript are saved to the note.

Later, search My Lecture Notes for a word the lecturer used and the app finds the lecture it was said in.
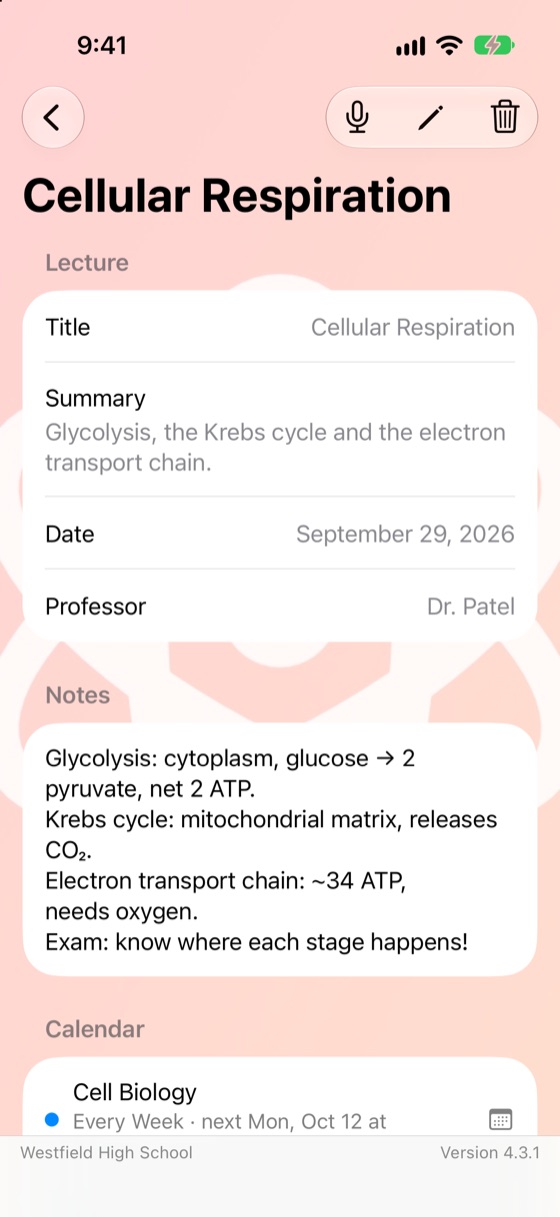
A lecture note on iPhone with its details and notes

7. Keep it safe

With iCloud on, your work is already on each of your devices. For a copy that's entirely in your hands:

  1. Open Settings › About and find Archive & Restore.
  2. Look at Archive Size. Switch off Include Recordings if you want a small file.
  3. Tap Export Archive and choose where to save it.

At the end of term is a good time. To bring an archive back, on this device or a new one, use Import Archive in the same place.

Stuck on anything? The ? button in the app opens its built-in help, and Support has answers to common questions.